

Developmental Kinesiology is just the fancy term for how children move and how they learn to move. Research and observation have told us that children learn how to move in phases and that there are milestones children reach such as being able to hold their head up independently, sit up by themselves, walk, run, jump, the list goes on. This idea has been used in the rehabilitation setting to improve movement patterning and address musculoskeletal dysfunction. A key feature of this is to look to train movements, rather than training muscles. By doing this, not only do you ensure the necessary muscles will get stronger and stronger through the required range of motion (because muscles only get stronger in the range you are training them) but it also means that the movement pattern itself gets stronger due to neurological adaptations.
Application to Rehabilitation
Just remember, the first step should always be to deload. Deload the movement to whatever level is still challenging but that you can perform comfortably and with good technique. This may mean you reduce the weight you are training with, or it may mean changing your position entirely. When you start to think of movement as a continuum it can become quite simple to breakdown challenging movements into smaller segments that can easily be trained separately and brought together as a whole.
Let us take getting off the ground as an example, the images below breakdown how a child learns to get up off the ground. This continuum increases in the intensity of movement as the child becomes stronger and learns these new movement patterns. This is essentially how we can deload movements in the presence of pain, injury, or when re-patterning specific movements, the continuum just starts at the other end.
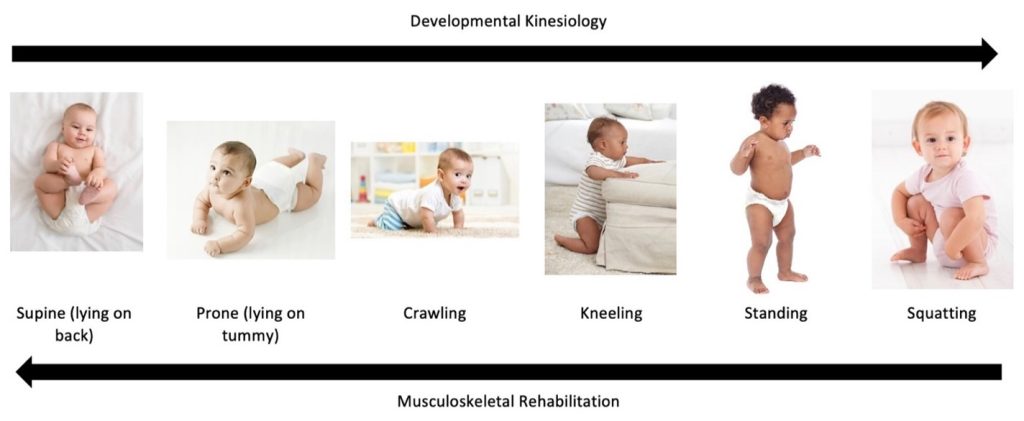
For example, a common clinical goal is to improve a client’s ability to get up from the ground. When this movement is broken down, it becomes a roll over from lying on one’s back to their tummy, move to 4-point kneeling or a crawling position, getting one foot on to the ground in a half-kneeling position, then pushing up into standing. Here is how this could be broken down in a clinical setting:
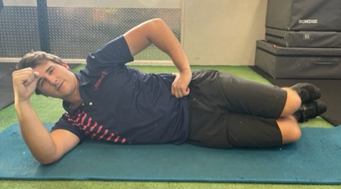
Step One: Initiate the Roll
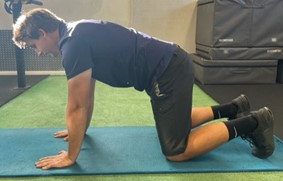
Step Two: Push to 4-point kneeling
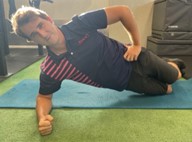
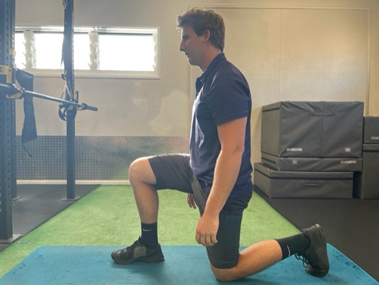
Step Three: Get to half kneeling (you can use support for this)
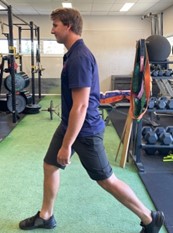
Step Four: Push to standing (you can also use support for this)
Each of these movements can easily become their own exercise.
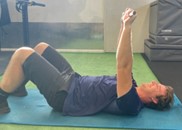
For another example, take an athlete experiencing pain in overhead positions or someone who struggles to lift their arm overhead. Because the shoulder joint has so much range of motion, it sacrifices stability is comparison to other joints. Remember the first step, deload it. Use less weight or create more stability by supporting the upper back and neck. You may even need to go one step further to create range of motion or reduce the load by performing the movements lying on your back or tummy so that you are not working against gravity, as shown below.
Lying on your back using a dowel overhead:
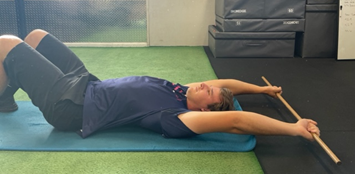
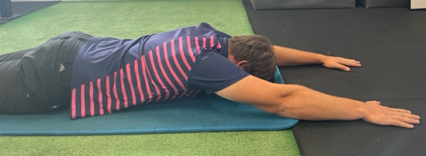
On your tummy (here you would be pushing your hand into the ground, as if trying to lift your body off the ground):
This idea is vast and can be complex in some situations, and there is a lot of information to take in, but at its core it is simple. Make the movement easier so you can do it better. If you need help to do this, ask your Accredited Exercise Physiologist or Sports Scientist so they can expertly create a roadmap to get you where you want to go.